![]() Adding stairs to a deck
Adding stairs to a deck
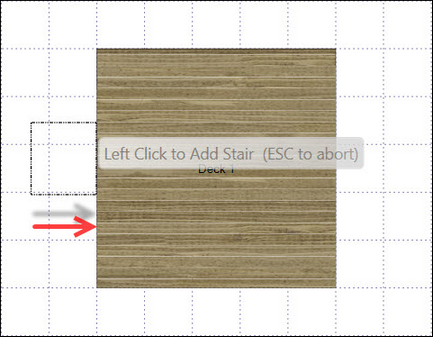
| 1. | Click the Add button in the Home Ribbon. |
| 2. | Chose Stair from the menu. |
| 3. | Move the cursor to a deck edge. |
| 4. | When the cursor changes to a hand, click the left mouse button once. |
| 5. | Press ESC. |
![]() Adding stairs between two decks
Adding stairs between two decks
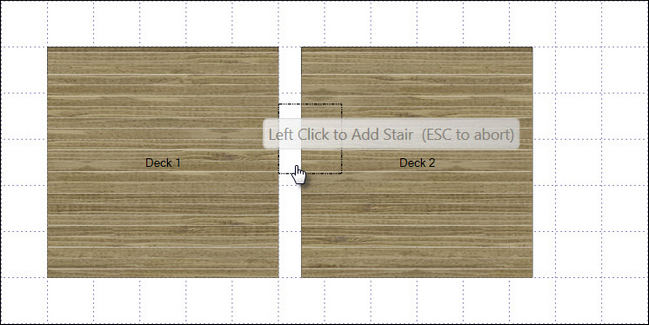
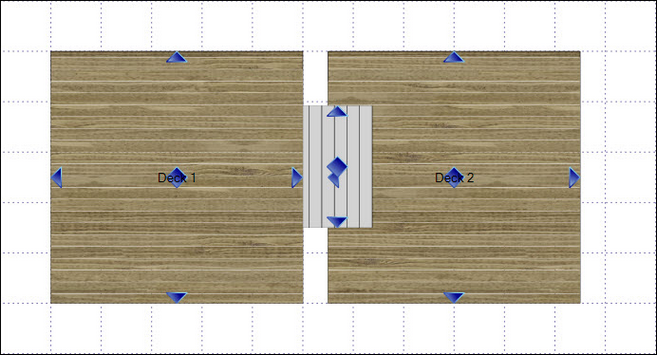
| 1. | Create two decks, one higher than the other. |
| 2. | Place a stair on the higher deck to have it automatically extend to the lower one. |
![]() Adding Wraparound Stairs
Adding Wraparound Stairs
| 1. | Click the Add button on the Home Ribbon. |
| 2. | Select Stair from the Menu |
| 3. | Move the cursor near the corner of the deck |
| 4. | Click the grid to place the Stair in the desired location |
| 5. | Click Yes when prompted to wrap the Stair |
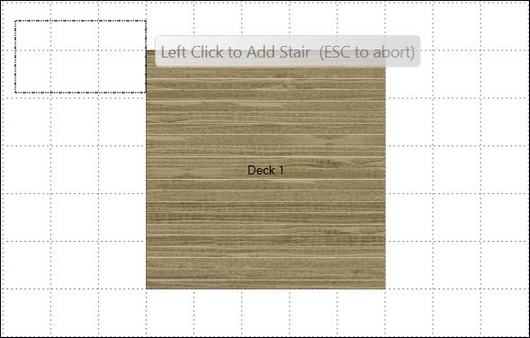
Tip: Before clicking to place your stair, be sure that the outline of the stair overlaps the deck edge as shown below.

![]() Adding Stair Landings
Adding Stair Landings
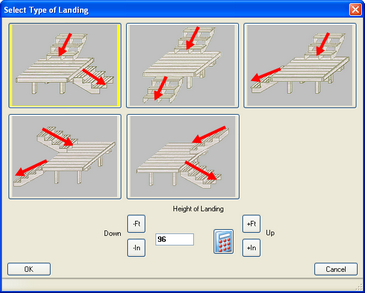
| 1. | If you are placing a stair on a deck 108" tall or greater, you will be prompted to select the landing type and enter the height of the landing. |
| 2. | Choose a style by clicking a landing type in the Select Type of Landing dialog. You may also choose to alter the landing height from this dialog box. |
| 3. | Click OK to place your landing and stairs. |
Note: To create a landing on a deck less than 108", add a smaller deck to the design with a height shorter than the primary deck and add stairs from the primary deck to the smaller deck and from the smaller deck to ground level.
