Adding Doors and Windows
Adding a Door
- Click the Add button in
the Home ribbon.
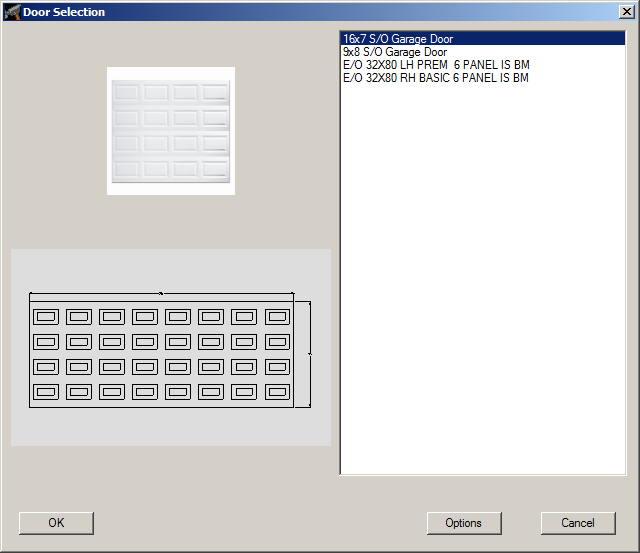
- Choose Door from the menu,
which displays the Door Selection
dialog.
- Choose the desired size and style from the list on the right-hand
side of the dialog. As an item is chosen in the list, images
will be displayed in the left-hand side of the dialog (if available).
- Click the OK button.
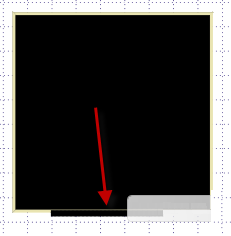
- Move the cursor to the desired location for the door and press
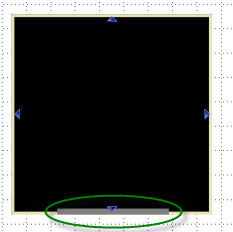
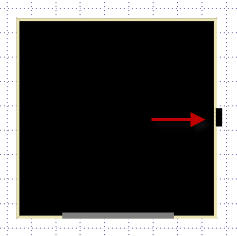
the left mouse button once to place the door. The door will
be represented by a dark grey line on the wall. To place an
additional door of a different size/style/type, use the Door
option from the Preferences
menu in the Home ribbon to
choose the desired door prior to placing the additional door.
Adding a Window
- Click the Add button in
the Home ribbon.
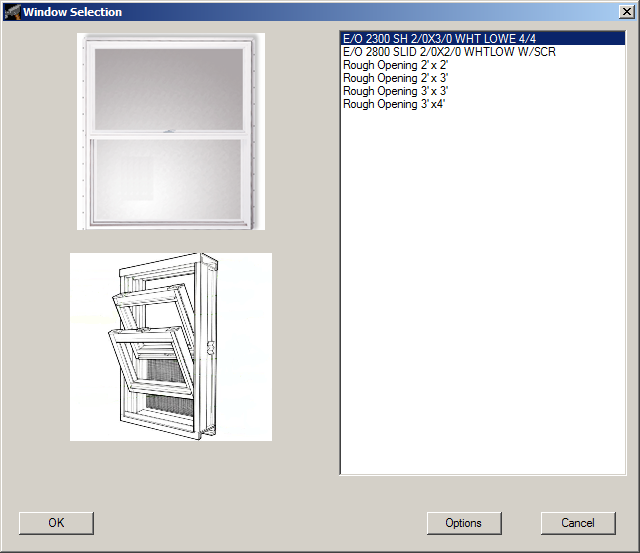
- Choose Window from the
menu, which displays the Window Selection
dialog.
- Choose the desired size and style from the list on the right-hand
side of the dialog. As an item is chosen in the list, images
will be displayed in the left-hand side of the dialog (if available).
- Click the OK button.
- Move the cursor to the desired location for the window and press
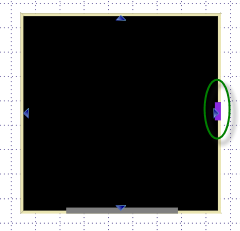
the left mouse button once to place the window. The window will
be represented by a purple line on the wall. To place an additional
window of a different size/style/type, use the Window
option from the Preferences
menu in the Home ribbon to
choose the desired window prior to placing the additional window.
See also: Moving
a Door
See also: Moving
a Window
See also: Choosing
a Different Door Size/Type/Style
See also: Choosing
a Different Window Size/Type/Style


