When an end-user creates a design in the application, the application will use default materials when creating the design. The end-user can very easily change the materials used in the design. All materials and their quantities used (Bid) will be displayed in the Material List Section of the Bill of Material.
There are three ways to navigate to the Material Tab to change Deck Materials
| • | Ribbon Menu - Modify Option |
| 1. | Select Modify on Ribbon Menu. |
| 2. | Select Deck. |
| 3. | Select the Materials Tab. |
| • | Double-click Method |
| 1. | Double Click mouse on the Deck Area. |
| 2. | Select the Materials Tab. |
| • | Mouse Method |
| 1. | Right Click the Mouse on the Deck object |
| 2. | Select Deck Materials. |
 |
| Click on image to enlarge |
The Materials Tab has two sections:
| • | Decking Material |
| o | Decking (Deck Boards) within the |
| o | Joist (Joist Material) |
| o | Joist Preferred Size |
| o | Beam (Beam Material) |
| o | Beam Preferred Size |
| o | Post (Post Material) |
| o | Post Preferred Size |
| • | General Project Materials |
| o | Fasteners |
| o | Beam Connections |
| o | Post Connections |
| o | Stringer Connections |
| o | Tread Connections |
| o | Diagonal Bracing |
| o | Diagonal Connections |
| o | Flashing |
| o | Concrete |
| o | Rail Caps |
![]() Decking
Decking
 |
| Click on image to enlarge |
![]() Options (Decking)
Options (Decking)
 |
| Click on image to enlarge |
![]() Joist (Material)
Joist (Material)
 |
| Click on image to enlarge |
![]() Joist Preferred Size
Joist Preferred Size
 |
| Click on image to enlarge |
Note: Selecting NONE (default) forces the application to calculate the most optimal Size.
![]() Beam (Material)
Beam (Material)
 |
| Click on image to enlarge |
![]() Beam Preferred Size
Beam Preferred Size
 |
| Click on image to enlarge |
Note: Selecting NONE (default) forces the application to calculate the most optimal Size.
![]() Post (Material)
Post (Material)
 |
| Click on image to enlarge |
![]() Post Preferred Size
Post Preferred Size
 |
| Click on image to enlarge |
Note: Selecting NONE (default) forces the application to calculate the most optimal Size.
![]() General Project Materials
General Project Materials
 |
| Click on image to enlarge |
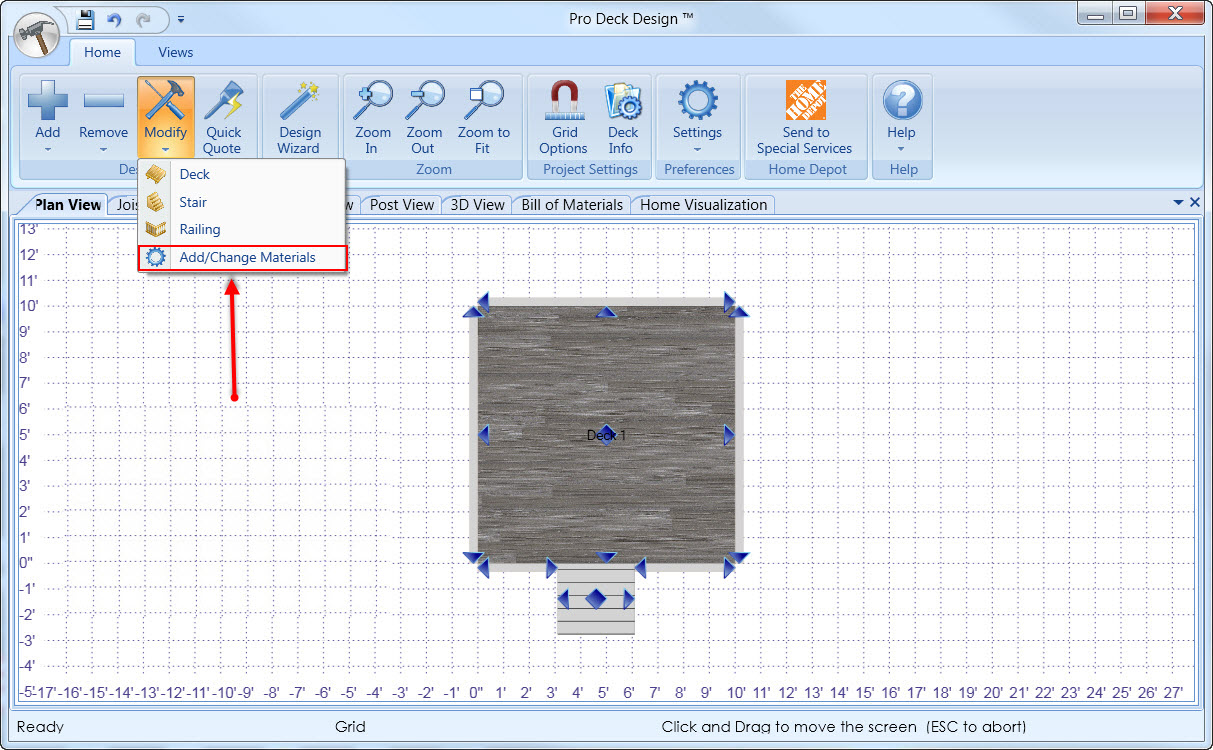
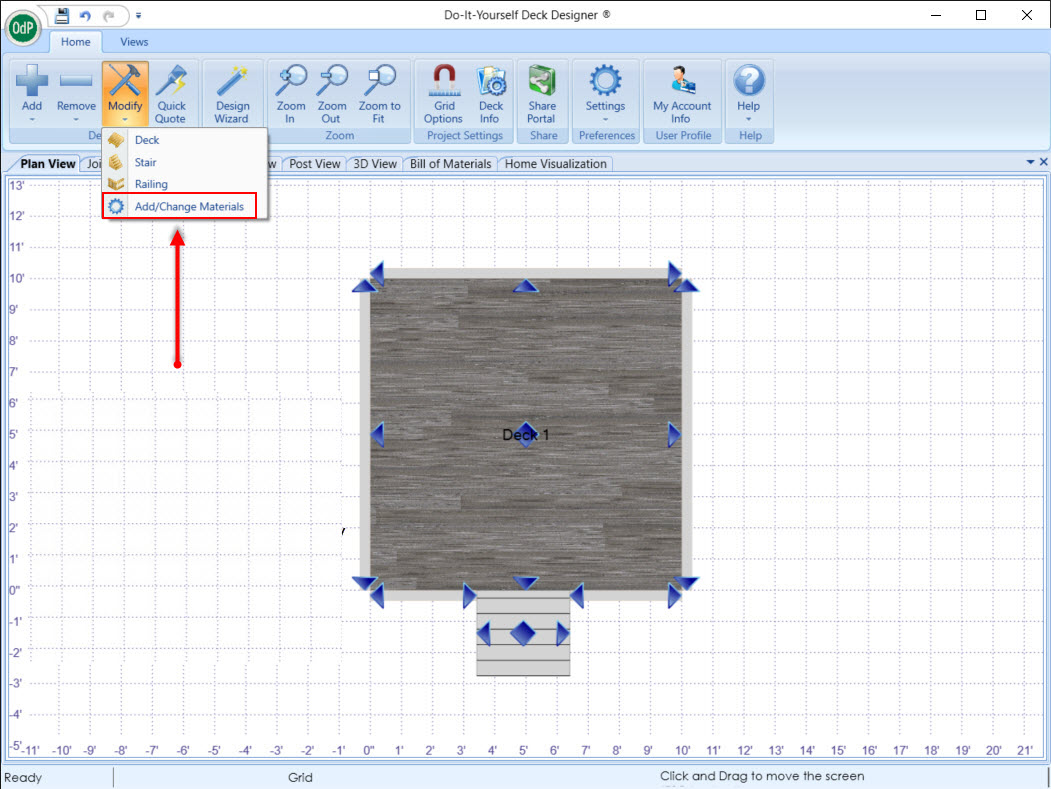
![]() Add/Change Materials
Add/Change Materials
The Add/Change Materials option which can be found under the "Modify" and on the Ribbon Menu when Bill of Materials view has been selected. The purpose of the Add/Change Materials function is to allow a user to quickly change the general materials used in a design.
| • | General Materials include: |
| o | Fasteners |
| o | Beam Connections |
| o | Post Connections |
| o | Stringer Connections |
| o | Tread Connections |
| o | Diagonal Bracing |
| o | Diagonal Connections |
| o | Flashing |
| o | Concrete |
| o | Rail Caps |
![]() Changing General Materials using Add/Change Materials option
Changing General Materials using Add/Change Materials option
| 1. | Select Add/Change Materials option |
| 2. | Select the Usage Category to be changed |
| 3. | Select the new Material to be used |

Note: Items that appear in Green are available and are selectable. Items in Red are material that would be available and selectable if certain parameters in the design had been met. For example if the footing method selected had been either "Pier In-Ground" or "Pier Block & In-Ground" a different type of Builders Tube could be selected. If the neither of footer type have been selected, all the materials listed under "Builders Tube" in this dialog will appear in Red.
Important Note: If a user wants to change the material used in any of the Material types listed in the dialog from Brand X to Brand Y, they CAN NOT. In these dialogs a user can only change from Material A from Brand X to Material B from Brand X. To change from Material A from Brand X to Material B from Brand Y a user must click on the Deck Material Dialog and select "General Project Materials" button noted at the top of this page.