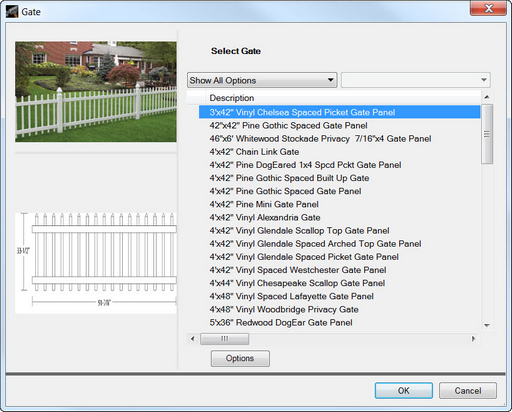
To add a gate to the project:
| 1. | Click the Add button in the Home ribbon. |
| 2. | Choose Gate from the menu, which will display the Gate Properties dialog. |
| 3. | Scroll through the list of fence styles on the right-hand side of the dialog to find your desired gate style. Click once on the name to view images of the selected design in the two panes on the left-hand side of the dialog. |
| 4. | Once the desired style is chosen, click OK to return to Plan View. |
| 5. | Place the mouse pointer at the desired location for the gate and click once with the left mouse button to place the fence. The gate will be represented by two circles with a diamond grip in the center. |
Note: Gates can only be added to the Design after a fence section has been added.
Note: Once a Material has been selected any new Fence section that is added will use the same material until it is changed. To change the material, prior to adding a new section go to the "Settings" option on the Ribbon Menu and select Gate.
