Drawing a Deck
There are two ways to draw
a deck:
- Using the Deck menu
option from the Add
button on the Home
ribbon to place a standard 10 x 10 deck on the design grid, then modify
the deck layout using sizing and cut options.
- Using the Freeform Deck
menu option from the Add
button on the Home
ribbon, draw the deck freehand.
If you are designing a rectangular deck, using the Deck
command is the best option. The second option, Freeform
Deck, gives you greater control over angles and edges beyond
the rectangular form.
Add an additional Deck:
- Click the Add button
in the Home ribbon.
- Choose the Deck
option from the menu.
- Click the mouse in the design grid.
- When you click the Deck
button, a deck border surrounds the cursor. Place one or more
decks as needed. To turn off this feature, choose another button or
press the ESC key.
Add
an additional Freeform Deck:
- Click the Add button
in the Home ribbon.
- Choose Freeform Deck
from the menu.
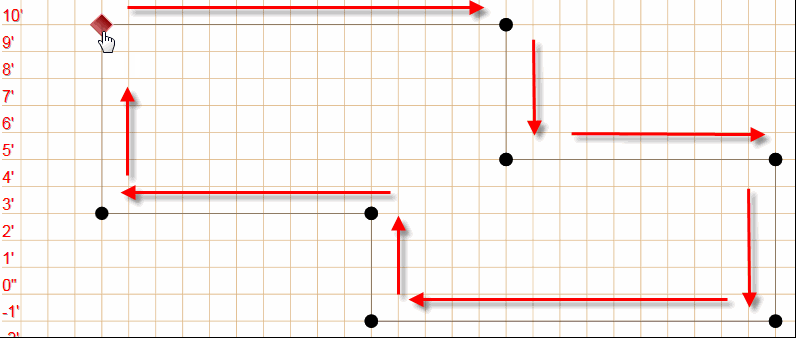
- Click the mouse on the design grid to select a construction point
for the deck.
- Select each construction point (represented by the circles) along
the perimeter of the deck.
- Close the deck perimeter by selecting the grip point (represented
by the diamond). When you close the deck loop, the software
fills the space with decking boards and auto-populates the decking
substructure (adding joists, beams, posts, fasteners, and so forth)
automatically.